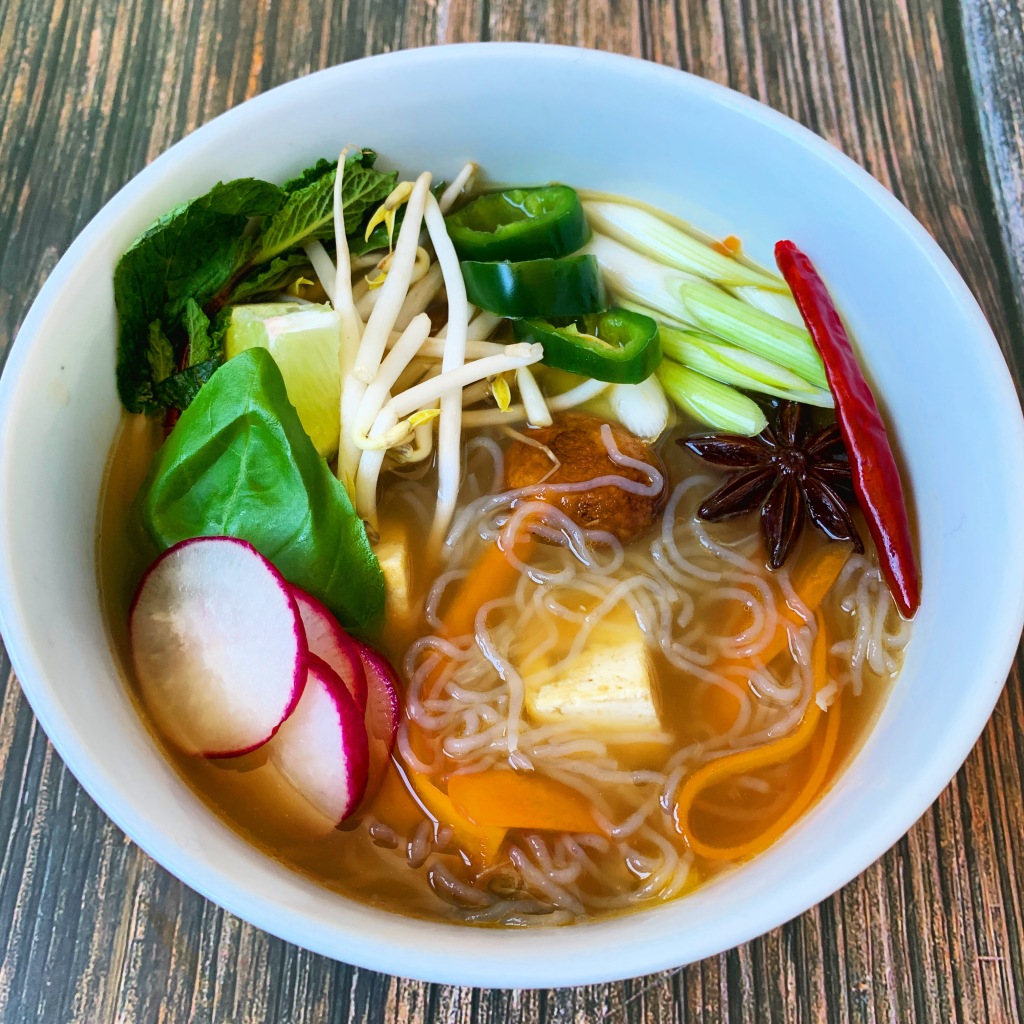
Springtime Veggie Pho

Prep Time: 15 minutes     Total Time: 45 minutes    Yields: 2 servings

Ingredients

  • 2 tsp coconut oil, separated
  • 3 cloves garlic, minced
  • 1 shallot, minced
  • 2 tsp ginger root, minced
  • 4 cups vegetable broth
  • 1 star anise pod
  • 1 cinammon stick
  • 4 ox extra firm tofu, pressed and cubed
  • 1 tbsp coconut aminos
  • 1 package of shirataki angel hair
  • 1 cup shiritaki mushrooms, sliced
  • 1 tsp sesame oil
  • 1 large carrot, julienned
  • fresh mint and basil leaves for garnish
  • 1/2 scallion, sliced for garnish
  • 1 cup bean sprouts
  • 2-3 radishes, sliced
  • 1 jalapeno or chili pepper, sliced
  • 1/2 lime, cut into wedges

Instructions

  1. In a large pot, heat 1 tsp coconut oil over medium heat
  2. Add the garlic, shallot, and ginger, and stir until fragrant
  3. Add the broth, star anise pod, and cinnamon stick, cover, and simmer for 15-20 minutes
  4. While the broth is simmering, remove tofu from the package, drain, and wrap the whole block in some paper towels
  5. Place a heavy object such as a bowl on top of the tofu to press all the moisture out
  6. After the broth has simmered, stir in the coconut aminos and leave on low while you prepare the shirataki nooodles
  7. Place the shirataki noodles in a small colander to drain and rinse, set aside (Shirataki noodles have an odor that will go away once rinsed and heated. Some brands require you to cook them in a pan, while some just require a rinse. Follow instructions on the package.)
  8. In a skillet, heat the remaining tsp of coconut oil
  9. Add the cubed tofu and shitake mushrooms in the skillet and sauté for 5 minutes
  10. Remove from the tofu and shitake mushrooms from heat and toss with the sesame oil, then add them to the broth
  11. Add the shirataki noodles and the julienned carrots, stir to combine
  12. Return to a light simmer for about 2 minutes and then turn off the heat
  13. Divide your pho between two bowls
  14. Top with fresh mint, fresh basil, sliced scallion, bean sprouts, sliced radish, sliced jalapenos or chili pepper
  15. Squeeze lime over the top and use the rest for garnish
  16. Enjoy!

*This recipe is candida safe, vegan, refined sugar free, and gluten free

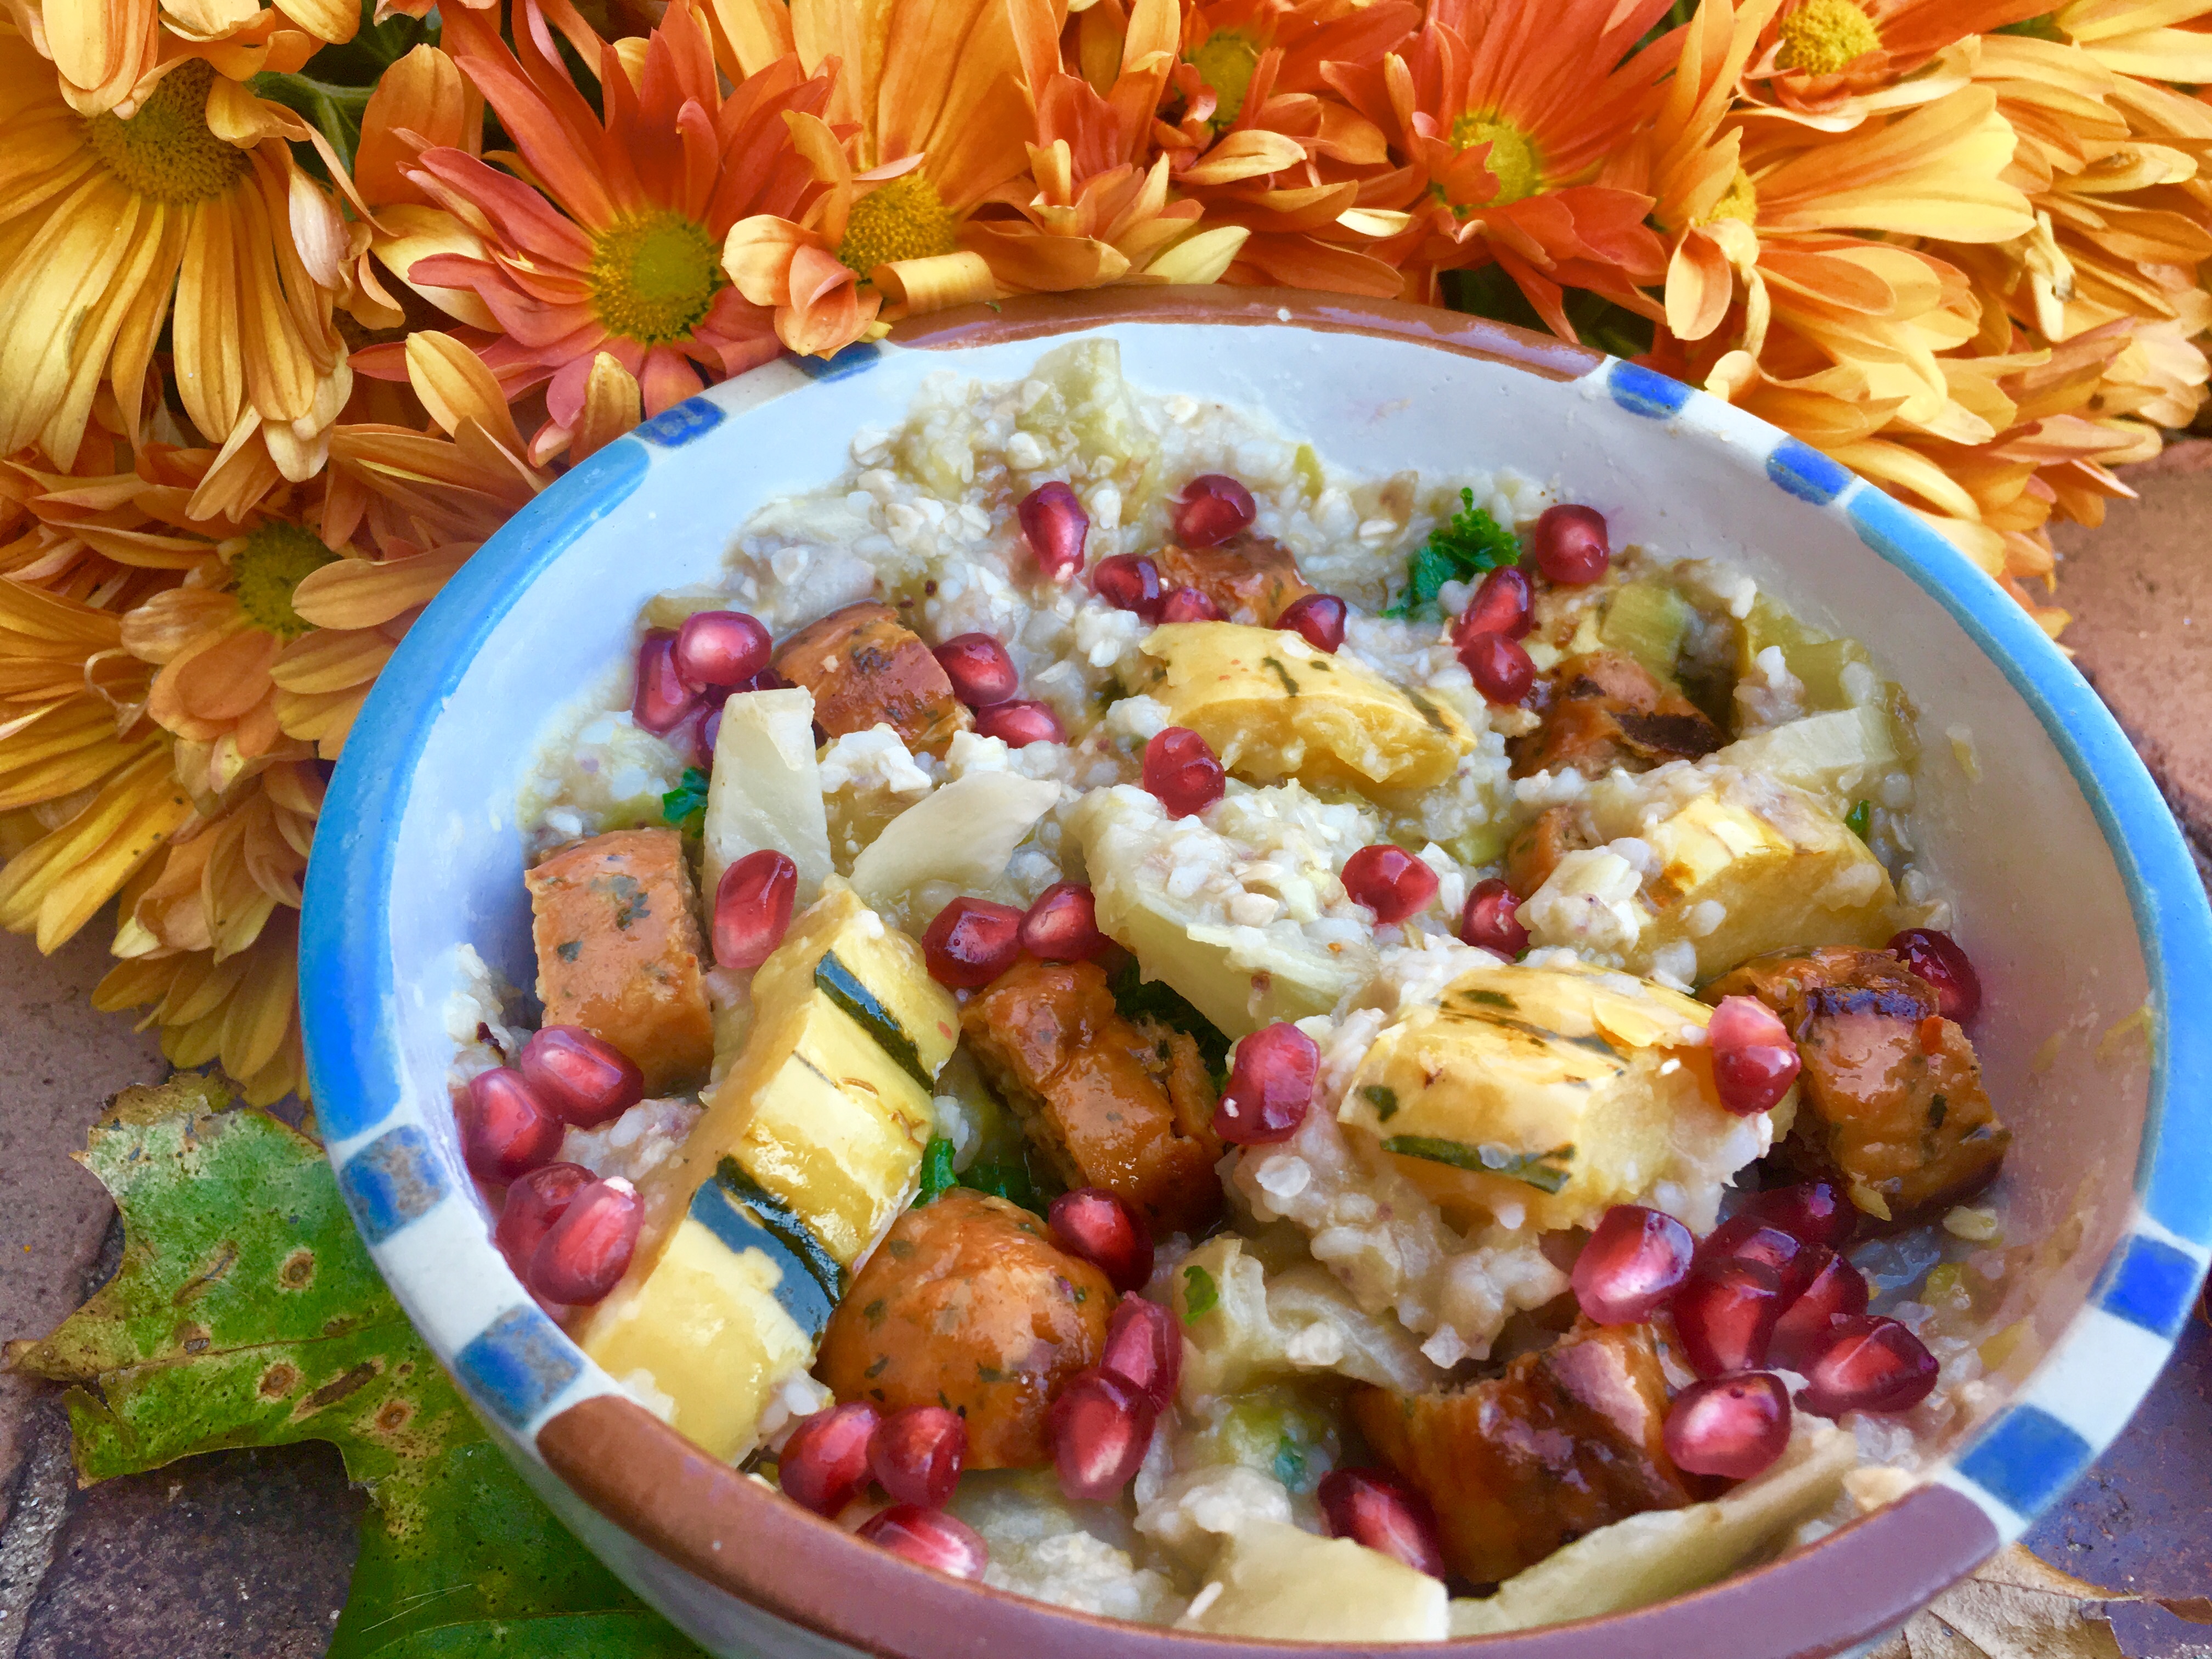
The A.I. Series: Hearty Roasted Buckwheat, Chicken Sausage and Delicata Stew

IMG_9745

Prep Time: 15 Minutes        Cook Time: 1 Hour & 15 Minutes       Yields: 4-6 Servings

This recipe calls for Kasha, which is essentially toasted buckwheat. When I think of buckwheat, I think of breakfast, but toasting it brings out a delicious nutty flavor that is perfect for a warming winter stew. This meal is hearty, tasty, and most importantly, healthy. This is a great meal for someone who is trying to eat a mostly anti-inflammatory diet, or just someone who loves delicious and you unique meals.

Ingredients

  • 1 tbsp coconut oil
  • 2 large leeks, white part only, sliced
  • 3 garlic cloves, minced
  • 1 large delicata squash, peeled and cubed
  • 1 fennel bulb, sliced
  • 2  tsp himalayan salt
  • 1-2 tsp cracked black pepper
  • 1 package of organic chicken sausage (Applegate Farms carries non-GMO, organic, humanely raised, gluten free, antibiotic nitrate/nitrite free, and gluten free chicken sausage)
  • 4 cups broth (I used organic chicken broth)
  • 1 cup buckwheat groats
  • 1 3/4th cups water
  • 1 tbsp ghee
  • 1/4th cup pomegranate tendrils

Directions

  1. Heat the coconut oil in a skillet over medium-high heat
  2. Add the leeks and garlic, and saute until fragrant
  3. Add the delicata squash, fennel,  salt, pepper, and sliced chicken sausage. Cook for 10 minutes, stirring frequently
  4. Add the broth, bring the stew to a boil, and then cover and simmer on low for about an hour, or until the squash is soft
  5. While the stew is simmering, heat a separate skillet over medium-high heat
  6. Place your dry buckwheat groats in the skillet so that all of them touch the bottom
  7. Stir the buckwheat groats constantly and shake the pan periodically to prevent them from burning
  8. Toast the buckwheat for approximately 4 or 5 minutes until they are browned and fragrant
  9. In a medium sauce pan, combine buckwheat with 1 3/4 cups water, ghee, and remaining 1/2 tsp himalayan salt
  10. Bring to a simmer, then cover with a tight fitting lid and simmer on low for 18 minutes
  11. Set the buckwheat aside until your stew is done cooking
  12. Once the stew is ready, add the buckwheat, and stir until combined
  13. Divide into 4-6 bowls and garnish with pomegranate tendrils
  14. Enjoy!

*This recipe is candida safe, refined sugar free, gluten free, and AIP friendly

Sweet and Savory Green Bisque

image1 (1)

Prep Time: 15 Minutes          Cook Time: 30 Minutes          Yields: 4-6 Servings

Ingredients

  • 2 TBSP unrefined coconut oil
  • 1 Garlic Clove, peeled and smashed
  • 2 Leeks, white and light green parts only, sliced
  • 1 Fennel Bulb, sliced
  • 2 Russet Potatoes, peeled and cubed
  • 2 Ripe Pears, peeled, cored, and cubed
  • Himalayan Salt to taste
  • Cracked Black Pepper to taste
  • 3 Cups Broth of your choice
  • 1/4th Cup Full Fat Coconut Milk
  • 2 Cups Spinach (or greens of your choice)
  • Fresh Dill for garnish

Directions

  1. In a large pot over high heat, heat the coconut oil
  2. Add the garlic, leeks and fennel. Sauté for 7-10 minutes until soft
  3. Add the potatoes, pears, salt and pepper. Sauté for 5 more minutes
  4. Add the broth and coconut milk, and bring the soup to a boil. Reduce the heat to simmer and cook for 15 minutes, partially covered, until potatoes are soft
  5. Stir in the spinach
  6. Purée the soup with a hand-held immersion blender until smooth. If you don’t have one, use a blender to purée the soup in batches.
  7. Garnish with fresh dill
  8. Enjoy!

*This recipe is safe for vegan, gluten free, and AIP diets.

Vegan Matcha Donuts with Raspberry Glaze

IMG_9185

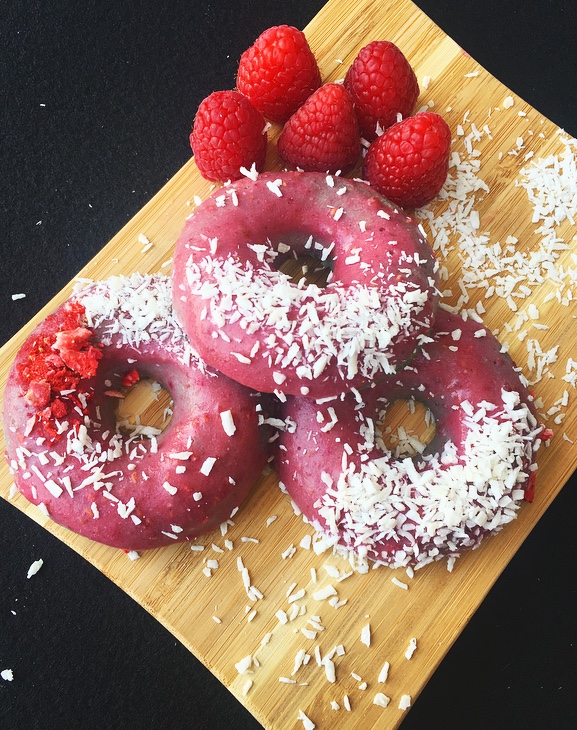
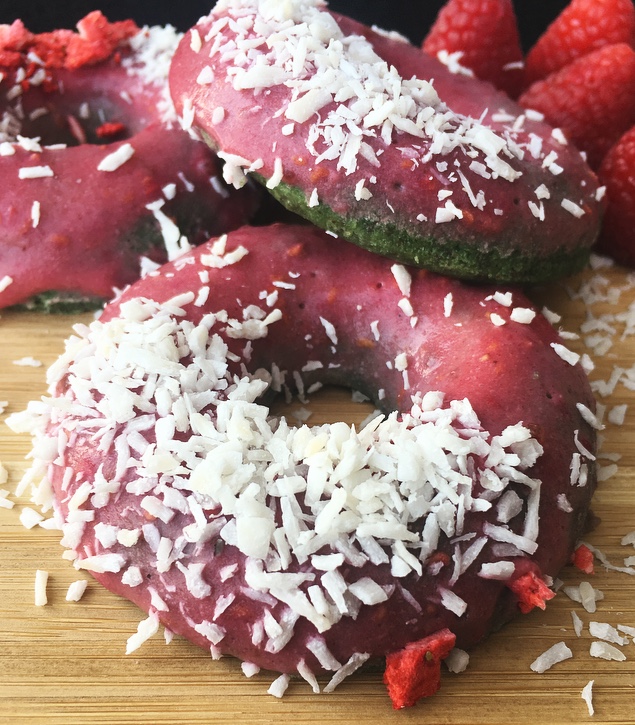
Happy Valentine’s Day! Two years ago on Valentine’s Day I was in the middle healing from my gut dysbiosis and wanting nothing more than to dive head first into a bowl of Russell Stover chocolates. It’s funny, before I got sick, I was so into savory snacks and never cared much for sweets. It was something about not being able to eat sweets that made me want them more and more. I remember following so many food accounts on Instagram, and making a list of places I wanted to go once I felt better. Some may have considered doing that a detriment, but to me, it gave me something to look forward to. Fast forward two years, I can eat all the sweets I want. I developed an obsession for donuts, and even though I absolutely love them, it just feels better to take the healthier route. I’ve been wanting to try out a healthy version of donuts forever, and I finally did! I thought it would be tough to get the batter right, but they actually came out absolutely delish on the first try! Behold my recipe for Healthy Baked Vegan Match Donuts with Raspberry Glaze!


Prep Time: 10 Minutes       Cook Time: 25 Minutes      Cool Time: 1 Hour       Yields: 12

Ingredients for the Donuts:

  • 1/2 Cup Unsweetened Almond Milk or Coconut Milk
  • 2 Tbsp Coconut Oil, melted
  • 1/2 Cup Pure Maple Syrup (You can also use Honey if you’re not vegan!)
  • 1 Tbsp Apple Cider Vinegar
  • 1 Tsp Vanilla Extract
  • 1 Vanilla Bean, split lengthwise and scraped (this is just for added flavor! if you don’t have vanilla bean, use one additional TSP of vanilla extract)
  • Pinch of Pink Salt
  • 2/3 Cup Almond Meal
  • 2/3 Cup Whole Wheat Flour or Gluten Free Flour Blend (There are tons of flour alternatives but you make have to adjust the other ingredients. For example, if you go with almond flour, you may have to add an additional binding agent such as a flax egg. You can also simply just use regular All Purpose Flour!)
  • 1 1/2 Tsp Baking Powder
  • 1/4th Tsp Baking Soda
  • 2 Tsp Matcha Powder (more to taste)
  • 1/4th TSP Ginger Powder

For the Glaze:

  • 1/2 Cup Raspberries
  • 1 Tsp Vanilla Extract
  • 1/3 Cup Coconut Manna
  • 1/4th Cup Almond Milk
  • 2 Tbsp Pure Maple Syrup
  • 2-3 Pitted Dates
  • 1 Tbsp Lemon Juice


Directions

For the Donuts:

  1. Preheat the oven to 350°
  2. In a large bowl, combine almond milk, coconut oil, pure maple syrup, apple cider vinegar, vanilla extract, vanilla bean, pink salt, and almond meal
  3. In a separate bowl, combine flour, baking powder, baking soda, matcha and ginger
  4. Use a sifter to add the dry mixture to your wet mixture
  5. Stir ingredients well and then taste it! You can add more matcha if the flavor is not coming through, but go slow!
  6. Spray your donut tray (I used coconut oil spray), and then add the mixture
  7. Bake in your preheated oven for about 22-25 minutes
  8. Check your donuts! If a toothpick comes out clean, they are ready. If not, continue baking and checking in two minute increments.

For the Glaze:

  1. While your donuts are baking, begin making your glaze
  2. Place all the ingredients into a blender, and blend until smooth.
  3. Place into a shallow bowl

To Assemble:

  1. Once the donuts are done, remove them from the tin, place them on a cooling rack, and let them cool completely
  2. Once cooled, place the donuts in your bowl of glaze one by one
  3. Make sure one side is completely glazed before gently removing with a fork or your fingers
  4. Allow the excess glaze to drip off, and then place the donuts on a parchment-lined plate or tray
  5. Garnish your donuts with anything you like! I went with shredded coconut and freeze-dried raspberries! You can also use; chocolate chips, chocolate drizzle, crushed walnuts, a tiny bit of sifted matcha powder, or anything else you desire.
  6. Let the donuts cool in your fridge until the glaze hardens, and serve!


IMG_9184


*Recipe is safe for vegan, dairy-free, and gluten-free diets(see adjustments).


Fad Diets

Our society seems to be ruled by food fads and fad diets. Whether its a nutrition fad, work out fad or weight loss fad; every few years something new makes waves, and it becomes all the rave. I remember doing so many fad diets when I was younger and overweight. Things that were popular back then were Weight Watchers, Atkins, NutriSystem, The Grapefruit Diet, The Master Cleanse, and more. I did most of them. I remember one time, my mom and I did this insane diet where we ate nothing but bananas and cabbage soup…..WTF! Another time in college, I did the Master Cleanse, made popular by Beyonce. For two weeks I only had salt water, and a disgusting cocktail of lemon, grade b maple syrup and cayenne pepper. I lost 16 pounds and immediately gained 10 back when I stopped. These constant changes to my body certainly didn’t help anything.

Unfortunately, so many people believe that a real quick fix exists. People are more likely to do something drastic over a short period of time, instead of implement life-long changes that can be made slowly and easily. This is why so many diets fail. Cutting out whole food groups is not realistic and doesn’t create a sustainable lifestyle for healthy change.
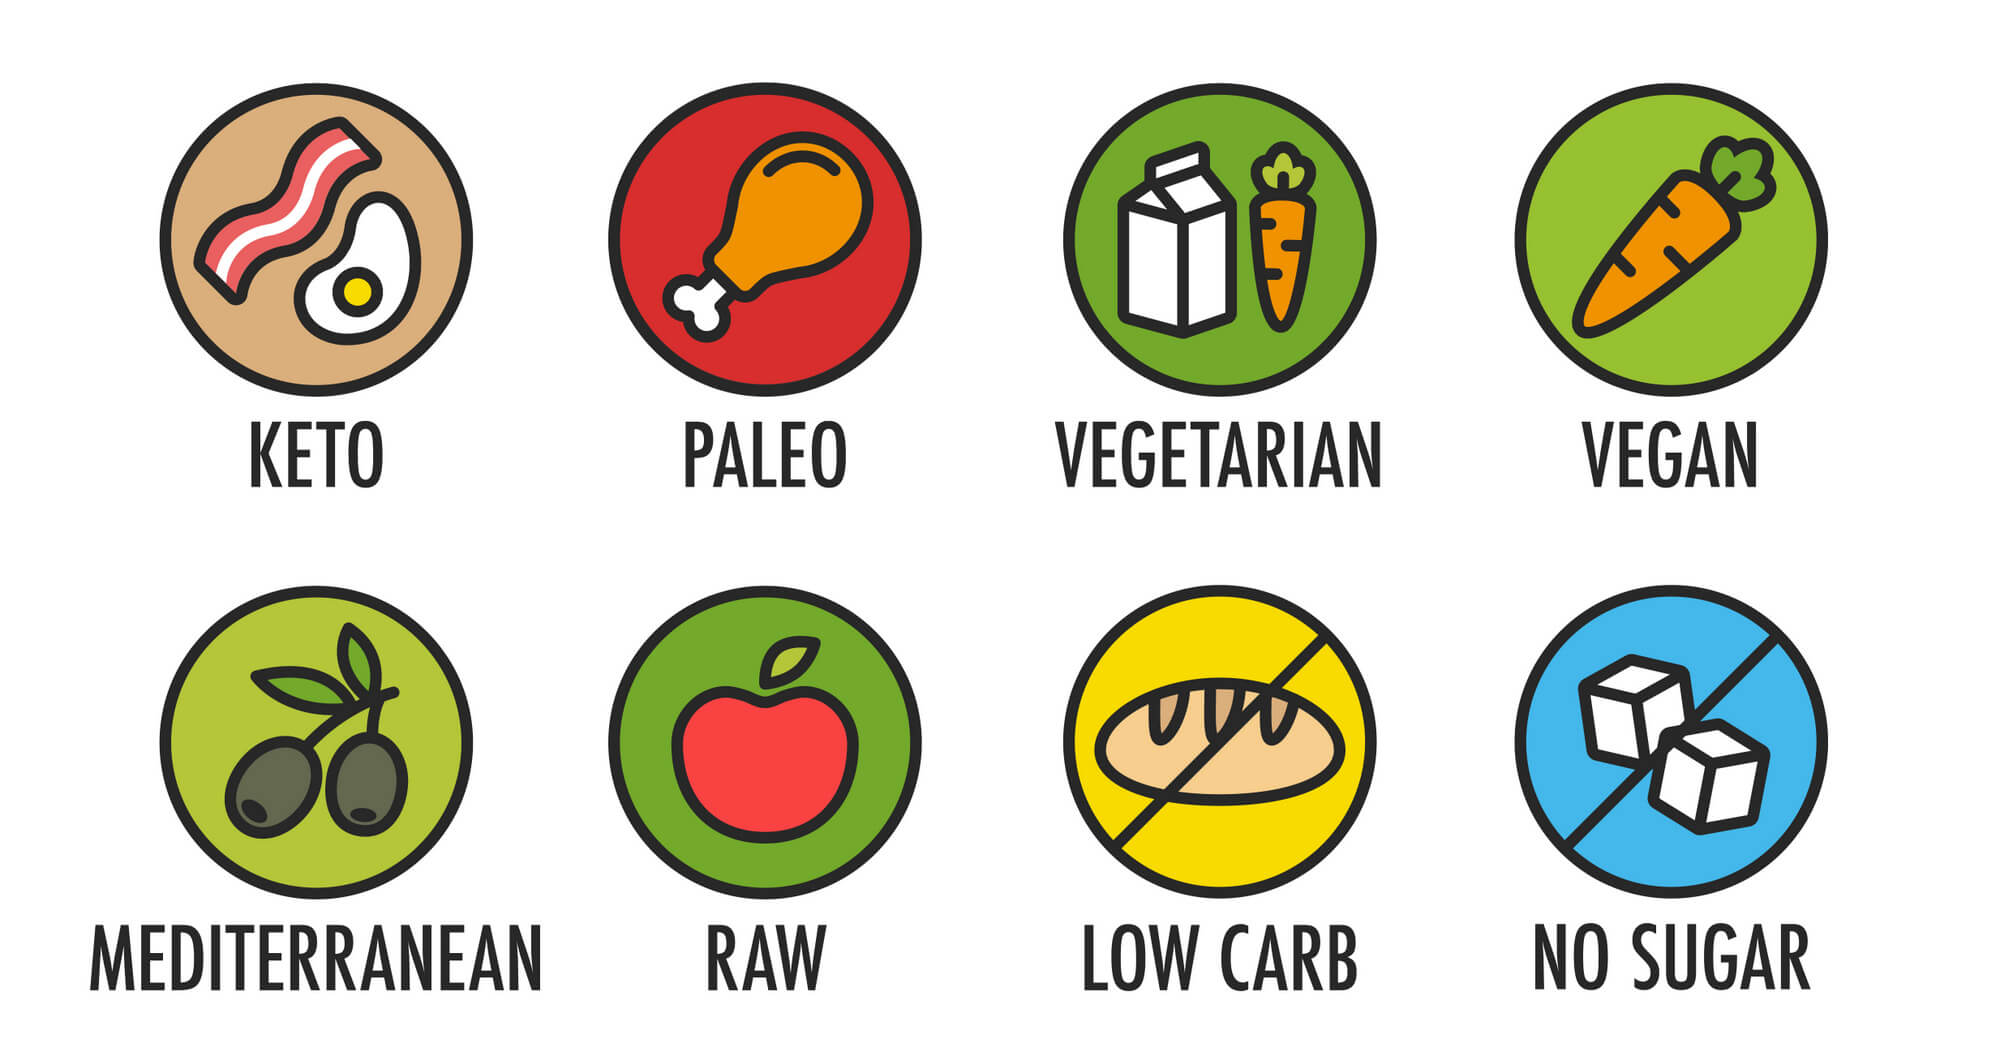
different-diets5

Some of the trends today are a bit more sustainable and healthy than the ones back then. Diets like Whole 30, Paleo, Intermittent Fasting, and Keto CAN be considered a lifestyle change if you’re willing to stick to it. You can google search any of these diets and find pages upon pages of success stories and information. There are literally millions of every day people, promising that these plans will work for you! You WILL lose 30 pounds fast! You WILL feel better than ever! You WILL do right by your body. Well I am here to say; that is NOT always the case! Yes, it totally can be. If it is working for you and you feel good, I am SO happy for you! All I am saying is, just because it works for one person, it doesn’t mean it will work for you! If it DOES work for you, it doesn’t mean it will breed long-lasting results.

It has been almost 3 years since I myself tried a fad diet and work out plan. It was effective, and helped me get the body I had hoped for since I was a little girl. The catch? It also totally messed up my digestive system. It threw my body for a loop that I wasn’t ready for. I took advice from someone on the internet, without consulting with my doctor, and what I got out of it was abs, a healthy weight, and a whole ton of digestive disruption. The shock I put my body through by cutting out whole food groups and eating the same thing every day caused me to get candida overgrowth in my intestines, among other things (think food intolerance, leaky gut, hair loss, and deficiencies). My life was completely ruined for a year. It wasn’t until after I already destroyed my health that I learned so much about why what I did was wrong. Did you know that eating the same thing constantly and cutting out major food groups when you don’t need to can result in food intolerance? It’s true. I cut out dairy, gluten, and many other things from my diet all at once. When I finally had an understanding of what happened to my body after 3 months of mystery stomach pain, I learned through functional testing that I had over 100 new food intolerances that my body had developed. THANKFULLY, I was able to get rid of them, but it was the hardest thing I have ever done. If you read the early posts on this blog, I go more into detail about that journey and how I healed from something so traumatic.

The point of this post is to remind you that there is not one single fad diet or way of eating out there that is guaranteed to work for everyone. EVERY body is different. Don’t always think that something you see on the internet is the end-all be-all plan that is going to change your life. A more recent example and something I experienced issues with is Intermittent Fasting. People absolutely praise this way of life. To be honest, I do too, BUT, you really have to know your body, and talk to your doctor before you make such a drastic change to your every day habits. I started doing this about two months ago. I had done it back in 2016, but I’d fast for only 14 hours. This time around I wanted to try it for 16. I was about a week into my fast when one day at work, my fingers and toes started to get really cold. I usually have poor circulation, so I didn’t think anything of it. About 5 minutes later, my face and all my extremities went completely numb. I went into an absolute panic. Could I really be having a stroke at 29??? I started frantically googling what this could mean, and the things I was reading were enough to give me a stroke, if I wasn’t already having one. This sensation, or lack there of, lasted for about 10 minutes and then it went away. The following week, I made an appointment with my doctor to find out if I was dying or not. I told her everything I was doing, from my eating habits, to my fasting, to my exercise. She took blood, gave me an EKG test, and even questioned if I had anxiety disorder. She then looked at my blood work from the last time I had been in, and noticed just one thing that seemed unusual: low blood sugar. My blood sugar is abnormally low at baseline. Its just how my body is. Some people have low blood pressure, some people have high cholesterol, I have low blood sugar. My doctor let out a sigh of relief and said that the numbness and tingling made perfect sense now that she saw my old labs. She said that for me to be not eating for 16 hours a day is NOT safe. Who would have thought?! I told her I was really enjoying the fasting, and she said she she would okay it, as long as I could stick to doing it 4-5 times a week rather than every day. I have been doing just what she told me ever since, and I have been feeling great. I haven’t gone numb, I haven’t had tingles, and I haven’t had brutal headaches. I encourage anyone who has had the willpower and drive to make lifestyle changes, to please talk to your doctor about it first. You want to make sure that you are doing right by your body and not causing irreversible damage.

Although I healed my leaky gut and got my candida levels back to normal, my digestive system will never be the same. I wish I’d have done my research and consulted with my doctor before I implemented a lifestyle change that I thought would be helpful. Lesson learned!
Curried Chicken Salad

50314485_1470397903092913_2944375556591845376_n

Prep Time: 10 Minutes           Cook Time: 30 Minutes          Yields: 3 Servings

Ingredients:

  • 2 Boneless, Skinless Chicken Breasts
  • 2 Tsp Sea Salt
  • 2 Celery Stalks, diced
  • 1/4th of a Large Red Onion, diced
  • 2 Tsp Curry Powder
  • 1/4 Tsp Paprika
  • Juice of 1 Lemon
  • 1/4th cup Organic Cilantro, chopped
  • 1/2 cup Raw Cashews, lightly toasted
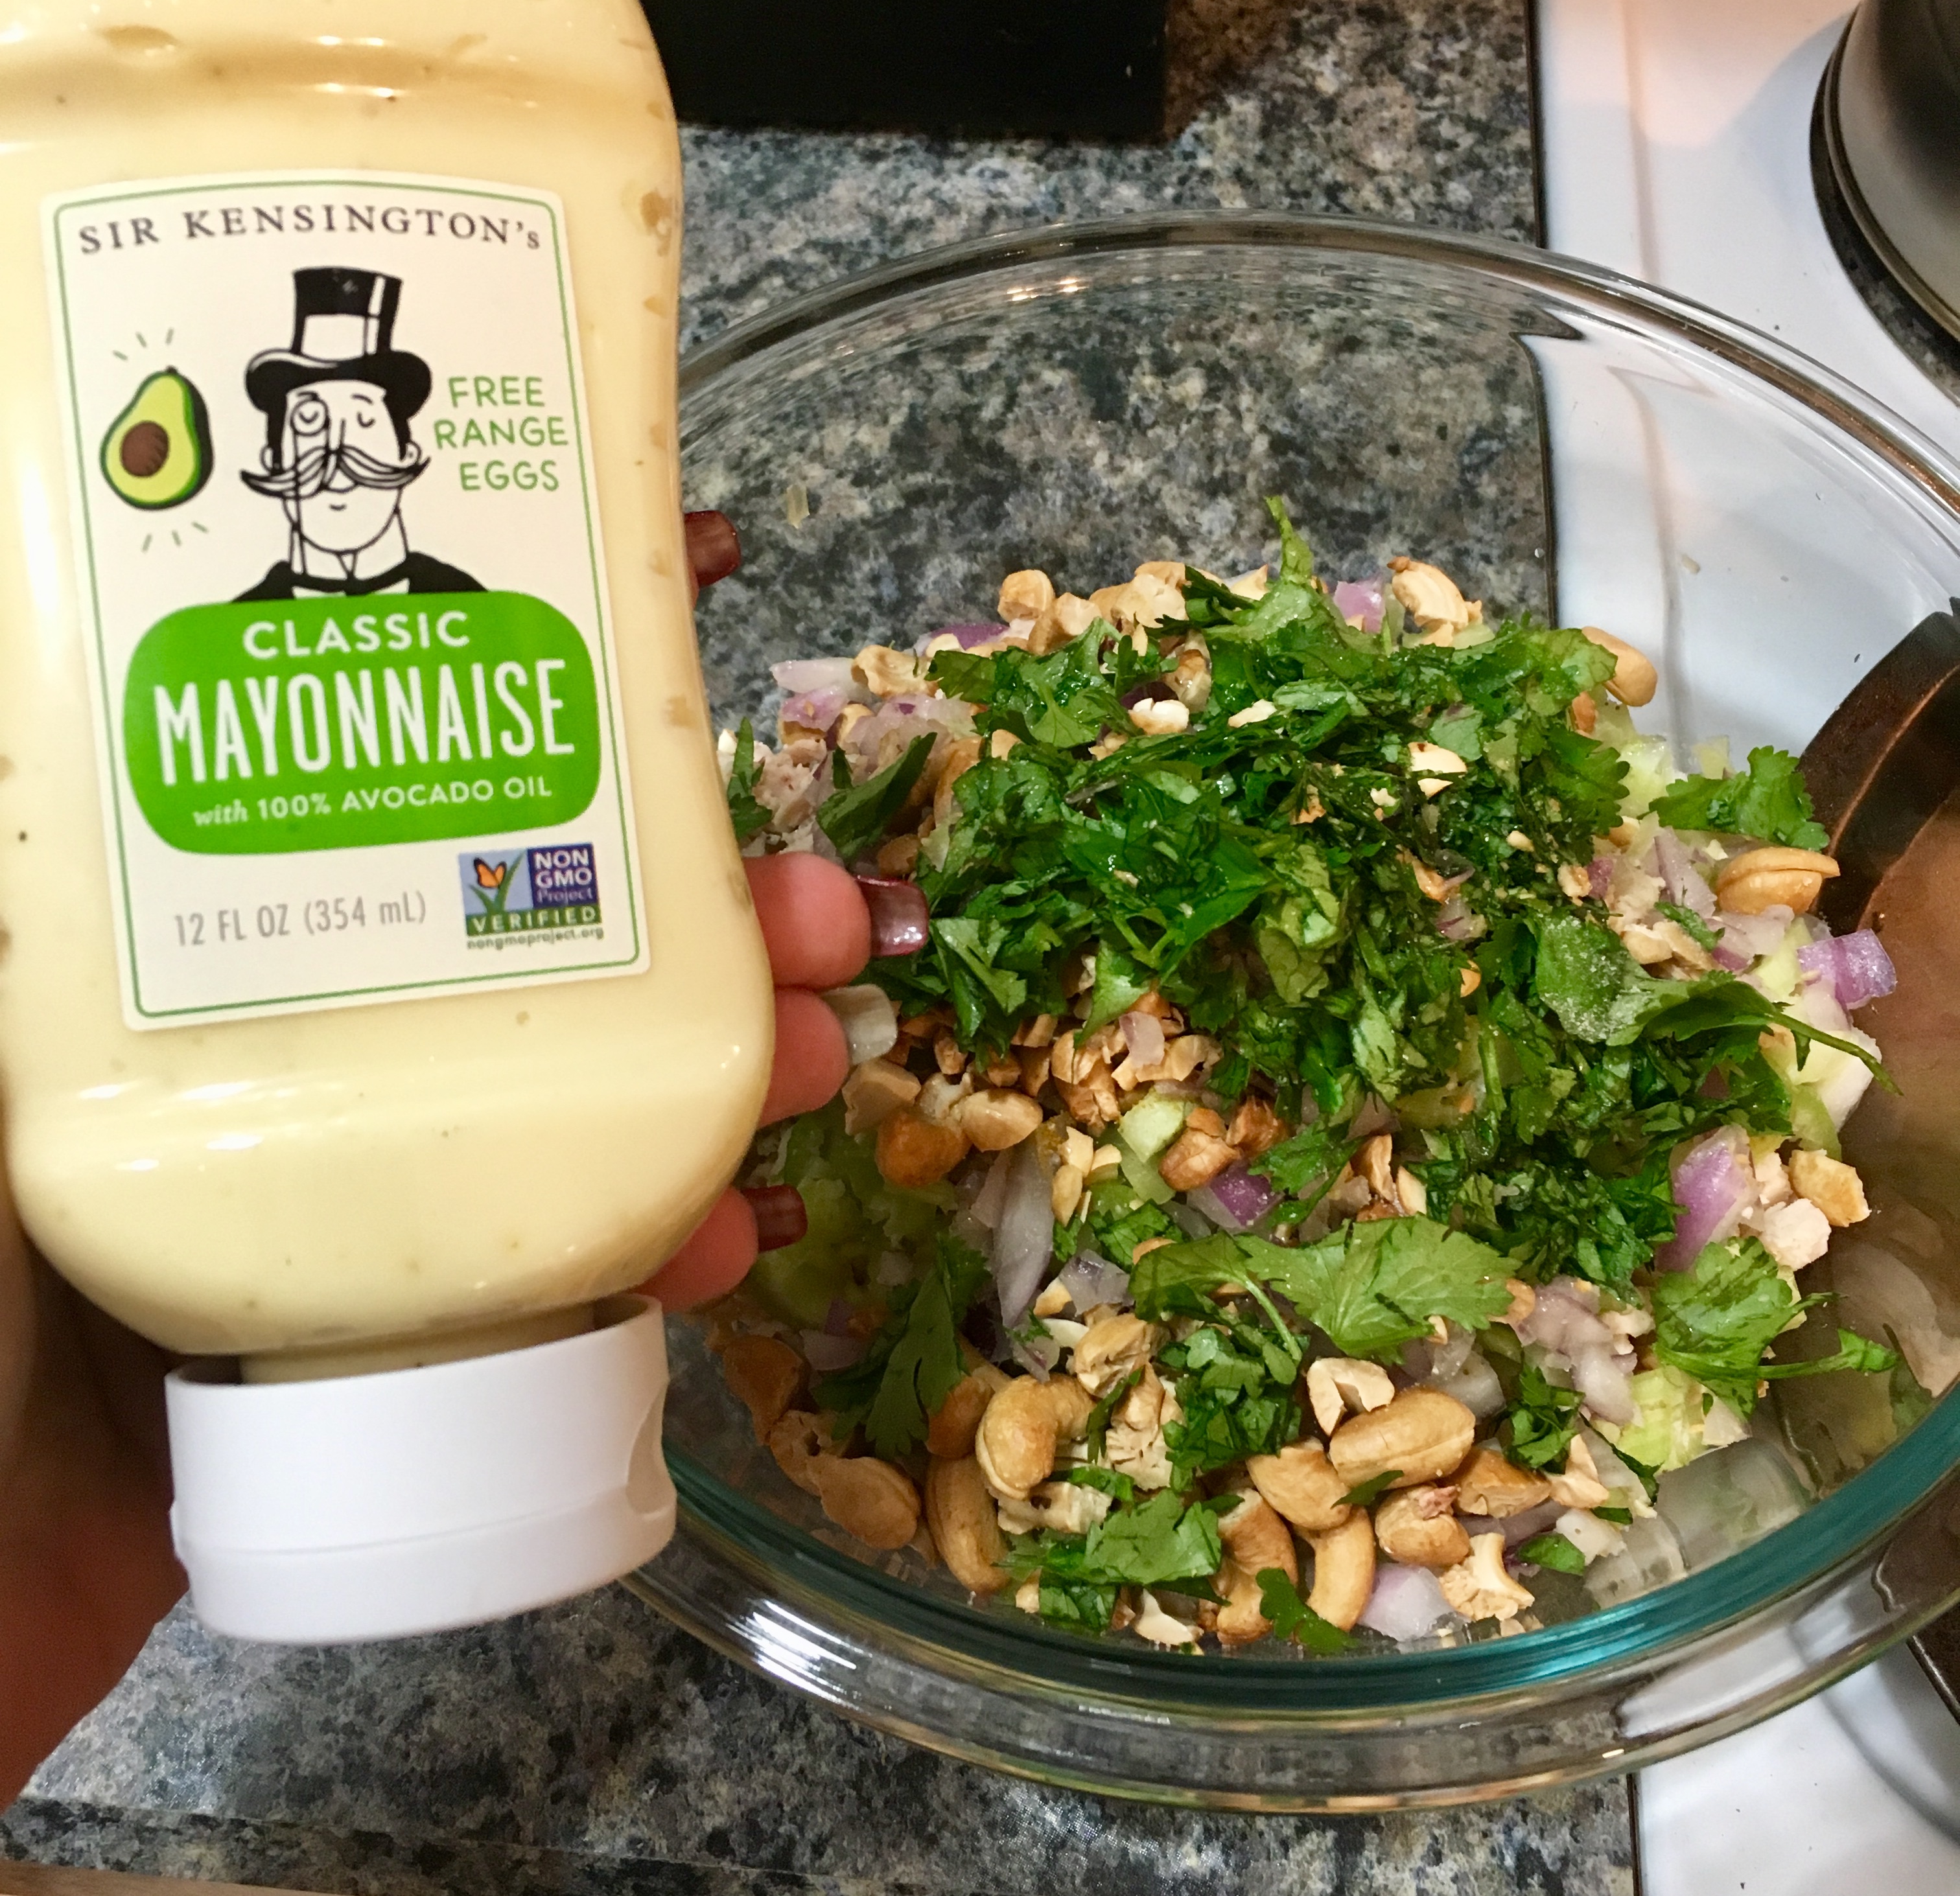
  • 1/2 cup Paleo Mayonnaise (I like Sir Kensington’s)

Directions

  1. Place the chicken in a large pot and cover with water and 1 tsp sea salt
  2. Bring water to a boil over medium-high heat; reduce the heat
  3. Cover the pan and simmer until the chicken is no longer pink, about 25 minutes
  4. When the chicken is cooked, drain the water and let it cool
  5. Shred or dice the chicken
  6. Combine the chicken, remaining sea salt, celery, red onion, curry powder, paprika, cilantro, and toasted cashews in a bowl and mix
  7. Add lemon and mayonnaise and stir until combined
  8. Eat plain, on toast, or on a raw collard green leaf!

This recipe is candida safe, refined sugar free, gluten free, and paleo

A Guide To The Perfect Power Bowl

Move over fast food, power bowls are in town! While power bowls seem to be the latest craze or trend, it appears they will be sticking around. There is no denying their practicality and ability to provide your body with each and every nutrient in a healthy way. You can customize them for any meal and any special diet. You can use last nights left overs or start with a clean slate. However you choose to build your culinary work of art; there are some tips to make sure you are getting the most out of your bowl.

IMG_5129

Components:

Whole Grains —  Grains are an important source of many nutrients such as B vitamins, fiber and minerals; and some are healthier than others.  Try brown rice, quinoa, buckwheat or millet to start. These will help to incorporate insoluble fiber into your meal, which helps keep you satisfied for long periods of time. Grains, if you choose to use them, should fill up about 1/4th of your power bowl.

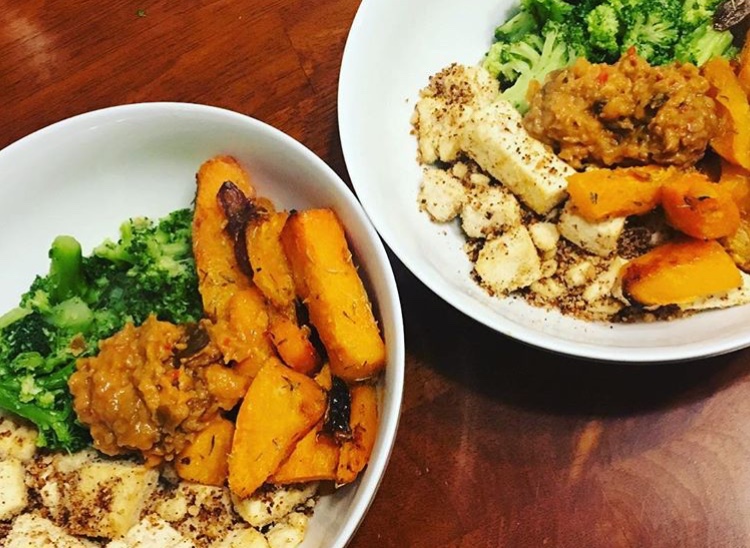
Vegetables — Veggies are important sources of nutrients such as; folate, vitamin A, insoluble fiber, potassium and vitamin C.  Vegetables are also low in fat, cholesterol and calories. Try to use a variety of nutrient dense veggies in your bowl. If you’re going for greens, try rainbow swiss chard, kale, or spinach.  They provide more nutrients than other greens, and they taste better too! To make your bowl pop, try orange bell peppers, snap peas, or purple broccoli! Need to use last night’s roasted veggies? Throw them in your power bowl! My favorites are: roasted sweet potatoes, roasted eggplant, roasted fennel and roasted string beans. They add complex flavor and make your bowl more hearty and pretty! Fresh or cooked vegetables should make up about 1/2 of your power bowl.

Protein —Protein is a key player! Your body uses protein to build and repair tissues, among so many other things. It is essential to our bodies. Some of my favorites include; tofu, soft-boiled or over easy eggs, grilled chicken, turkey, hummus, or beans. Incorporate 3-4 ounces of protein in your power bowl.

Fats—Fats are just as important as every other ingredient in your power bowl. Adding fat to your bowl helps your body to absorb all the nutrients found in the veggies you choose, like; beta-carotene, lycopene and more. I love adding avocado, cold-pressed organic oils, olives, nuts, or seeds. You can also simply use healthy oils to cook your grains or protein in.

Finishing Touches— Now that your bowl is almost complete, you can add bursts of mega-nutrients by topping it with things like; fresh herbs, artichoke hearts, pepitas, roasted red pepper dip, or some ground flax seeds.

There you have it! A delicious, customizable and nutrient-dense meal that will keep you satisfied for hours.

**Tips — Since power bowls combine several different food groups, it is good to keep in mind some tips about combining foods, and what foods work best together:

  • fats go best with vegetables and healthy grains, as they help promote efficient nutrient absorption
  • red meat does not mix well with carbs or acidic foods, so if you choose to use grains in your power bowl, its best to stick to white meat, tofu or beans.
  • eat whole grain with high fiber vegetables such as leafy greens
  • try to stray away from combining dairy and meat if possible! the combination can be too acidic for some.
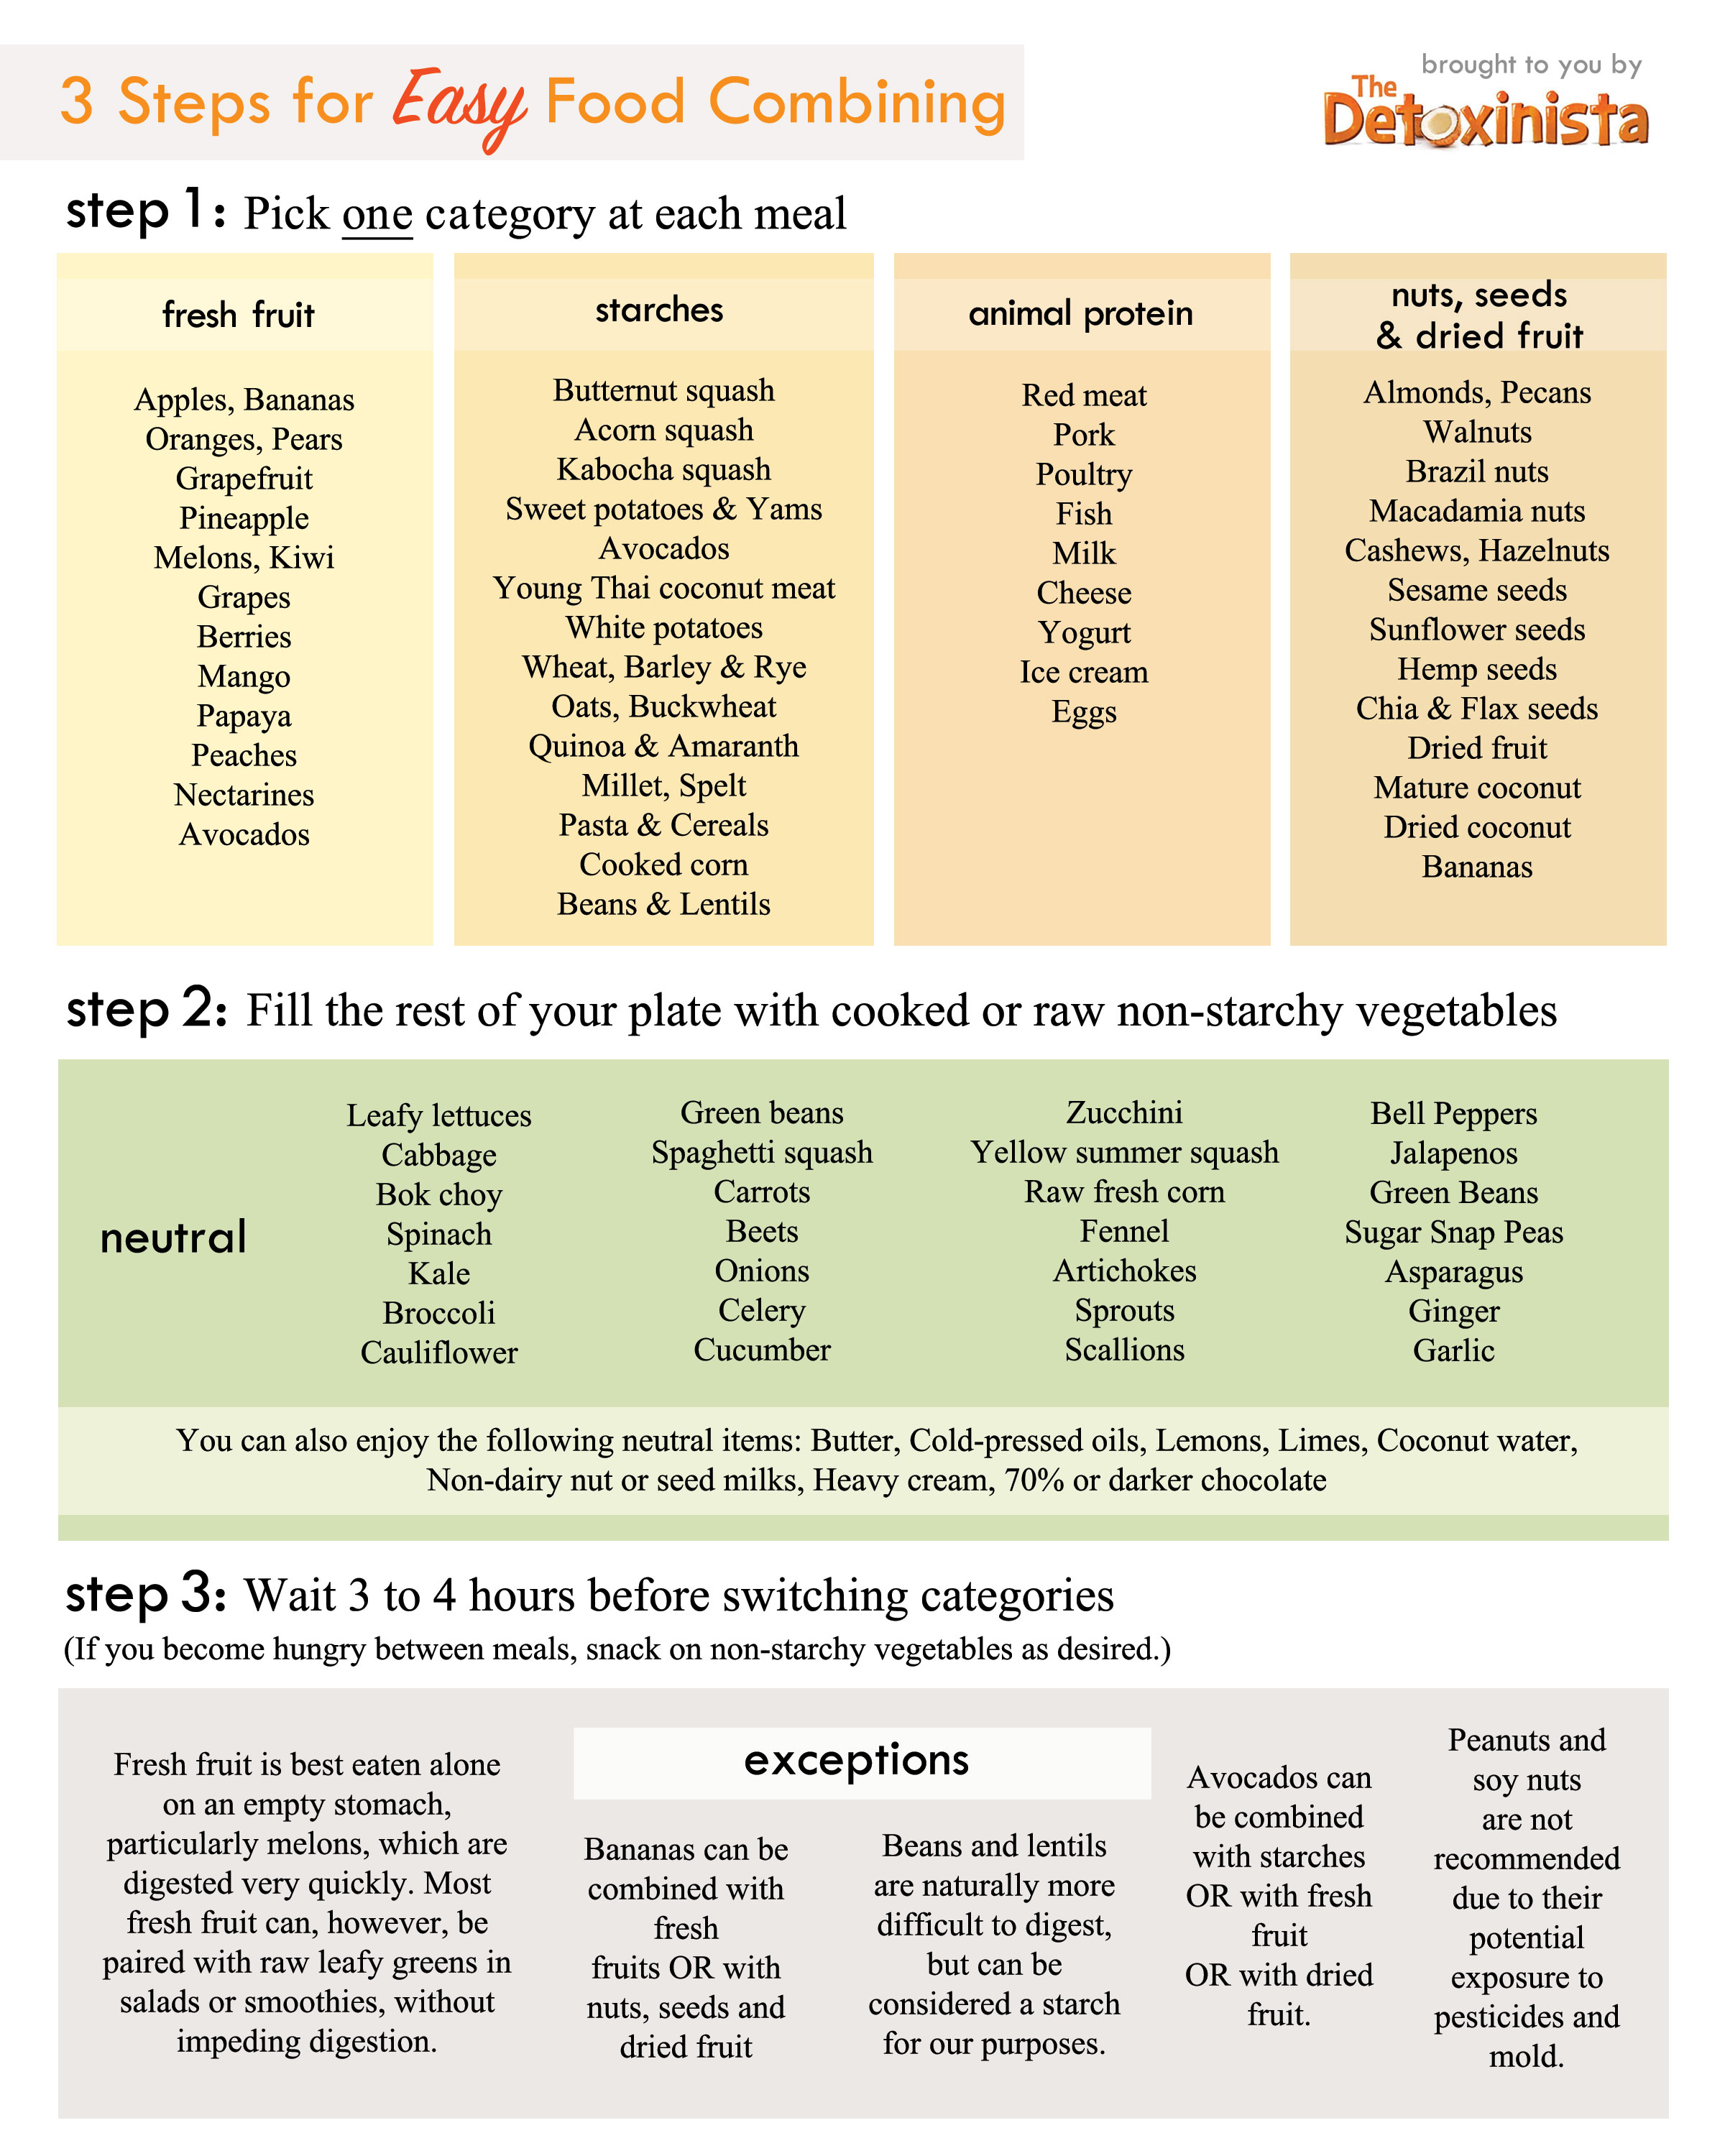
  • if you have digestion and absorption issues, please refer to the chart below when creating your power bowl. It is not essential to always stick to these rules, but it could be beneficial for those with a sensitive digestive system, and an overall helpful tactic to keep in mind!

food-combining-chart.jpg

Lamb Gyro Tacos

Prep Time: 40 Minutes           Cook Time: 20 Minutes          Yields: 8 Tacos

Ingredients

For the Meat:

  • 1 tbsp olive oil
  • 1 small yellow onion, diced
  • 1 garlic clove, minced
  • 1 lb package of pasture raised ground lamb (available at Whole Foods)
  • 1 tsp cumin (more to taste)
  • 1 tsp ground coriander
  • 1 tsp sea salt

For the Slaw:

  • 1 1/2 cup shredded red cabbage
  • 1/4th cup crumbled feta (omit for dairy free version)
  • 1/4th cup fresh chopped mint
  • juice of 1 lime

For the Tzatziki:

  • 2 Persian Cucumbers washed and chopped
  • 1 cup plain greek yogurt (sub plain almond or coconut milk yogurt for dairy free version)
  • 2 garlic cloves, chopped and mashed into a paste
  • 1 tbsp fresh chopped mint
  • 1 tbsp olive oil
  • freshly ground pepper
  • note- this is best made the night before so flavors can marinade, but it will still be delicious either way. If you’re on a time crunch, Cedar’s brand Tzatziki is excellent


  • 8 small flour tortillas (substitute corn tortillas for gluten free version)


Directions

  1. Start by preparing your Tzatziki as that will take the longest
    • Toss the chopped cucumber with a generous amount of salt and leave in a colander in the sink for 30 minutes.
  2. While you wait for the cucumbers, heat olive oil in a skillet over medium heat
  3. Add diced onion and cook, stirring occasionally until soft, about 5 minutes
  4. Add minced garlic and stir about 2 minutes
  5. Add ground lamb, breaking it up, and cook until browned
  6. Season with coriander, cumin, and sea salt to taste
  7. Toss the cabbage, mint, and crumbled feta for your slaw. Dress with lime juice
  8. Once your cucumbers are finished, rinse, and then drain on paper towels
  9. Beat together the yogurt, garlic paste, mint, salt and pepper to taste, and olive oil.
  10. Stir in the cucumbers and adjust seasonings
  11. For the tortillas
    • Heat a medium pan over medium-high heat.
    • once hot, add tortillas in a single layer, working in batches as needed
    • toast until warmed through, about 30 seconds per side.
    • Stack them and wrap in foil to keep warm until ready to serve.
  12. Assemble!
    • Spread tzatziki all over your tortilla
    • Add a few spoonfuls of the meat mixture
    • Top with Slaw
    • Enjoy!

The Art of Salad Making


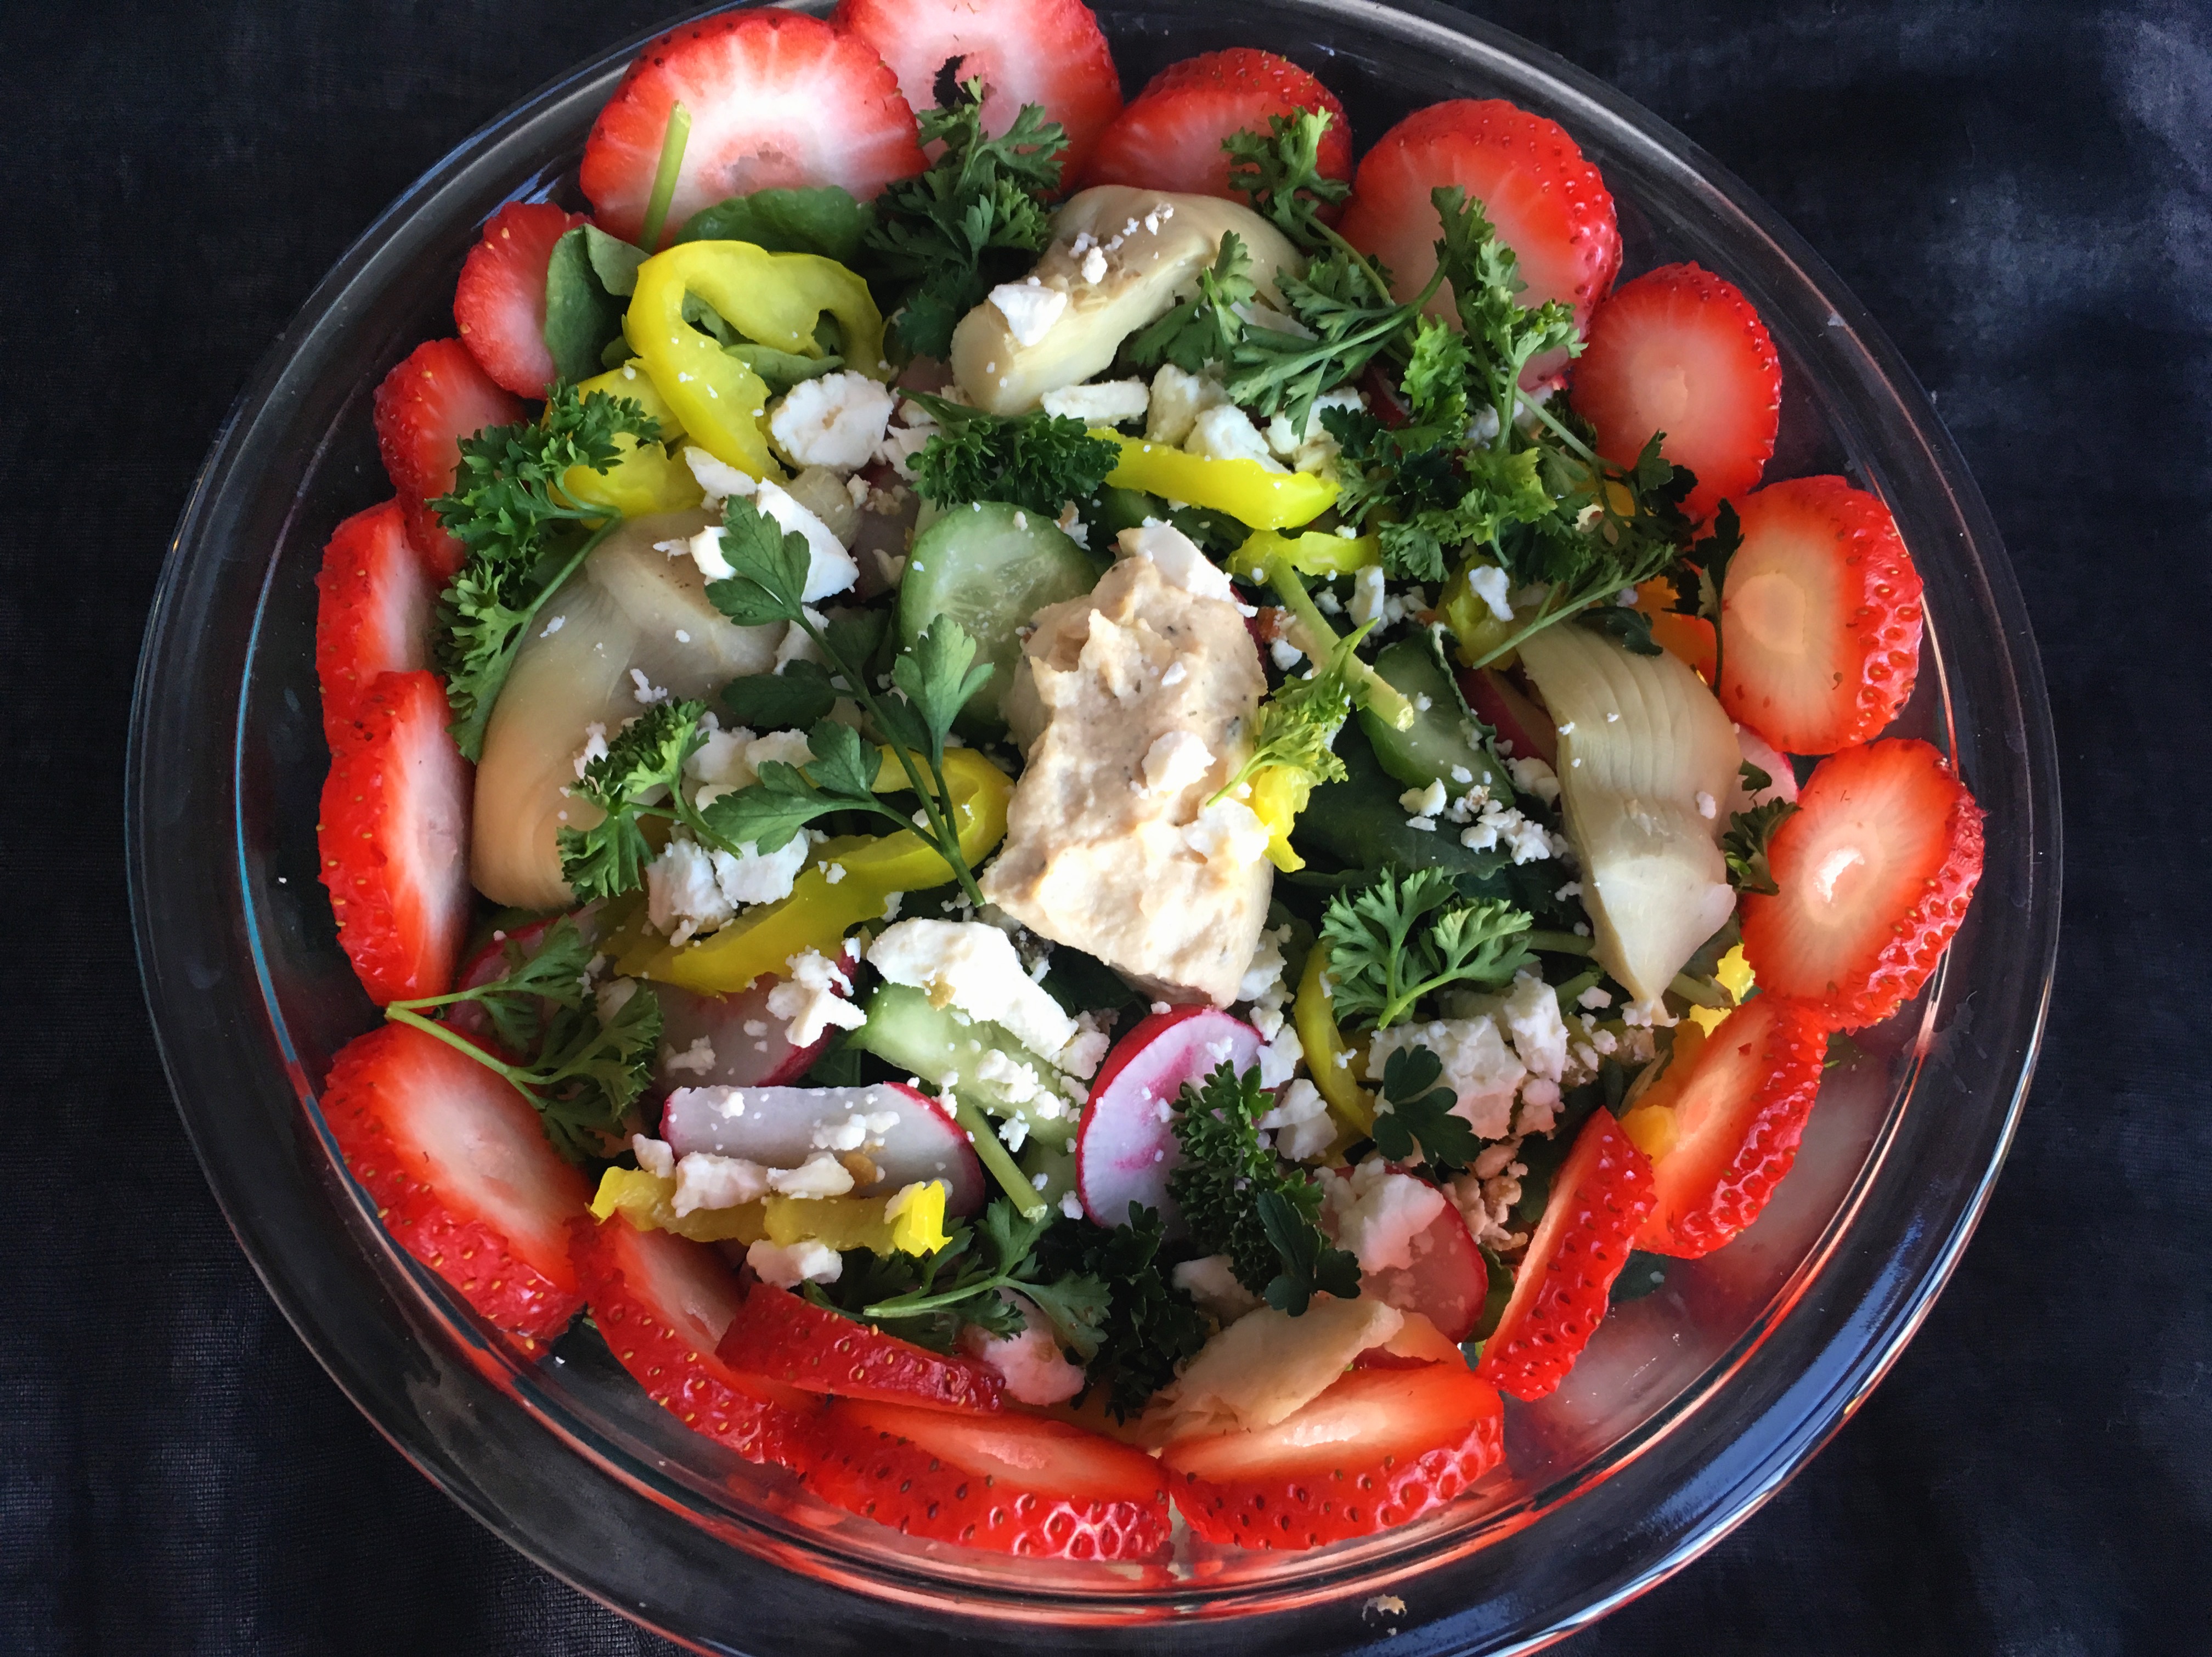
IMG_8412

The art of making a salad is sometimes overlooked. Salads tend to be viewed as a side dish, or a quick and easy meal. To me, there is so much more to a salad than just the basics. Sure, you can use iceberg lettuce, shredded carrots and cherry tomatoes, but why go basic when your salad can not only look like a work of art, but taste like one too? Below are my tips for making the perfect, nutrition-packed, color-popping, belly-pleasing salad.

Base: Ditch the boring greens. Romaine is fine and dandy but there are better options out there with not only more flavor, but more nutrients too. Try arugula, marinated kale, or spinach.

Raw: Think colorful! Colorful veggies pack tons of nutrients. Who doesn’t want to eat a vibrant meal that is also excellent for you? Switch it up a bit. Try radishes, shaved brussels sprouts, heirloom tomatoes, orange bell peppers, and purple carrots.

Roasted: Need to use last night’s roasted veggies? Throw them on top of your salad! My favorites are roasted sweet potatoes, roasted eggplant, roasted beets, roasted fennel and roasted string beans. They add complex flavor and make your salad feel like more of a hearty meal.

Fats: Fats are just as important as every other ingredient in your salad. Adding fat to your salad helps your body to absorb all the nutrients found in the veggies you choose, like beta-carotene, lycopene and more. I love adding avocado, feta cheese, olives, nuts, or seeds.

Protein: When it comes to salad, veggies are usually the star of mine, but a little added protein can help give you a boost. Some of my favorites include; raw tofu, hard-boiled egg, grilled chicken, hummus, or beans.

Healthy Toppers: Now that your salad is almost complete, you can add bursts of color and mega-nutrients by topping it with things like; pomegranate seeds, berries, fresh herbs like parsley or cilantro, artichoke hearts, pepitas, and maybe even some ground flax or hempseeds.

Dressing: There are two routes you can take with dressing; creamy or vinaigrette. If you’re going vinaigrette, I like using things like; a healthy oil base such as olive or avocado oil, vinegar such as apple cider or red wine, a citrus such as lemon or lime, some dijon mustard, and any herbs you like! If you’re going creamy, I’m a fan of; olive oil, greek yogurt, lemon, parsley, chives, dill, and minced garlic. Add all these ingredients to a blender and voila!

There you have it. It’s easy to pack on tons of calories to a salad, but with the right ingredients and right mindset, a salad can be the healthiest, most nutritious and most delicious meal of the day.


Healthy Blueberry Coconut French Toast Bake


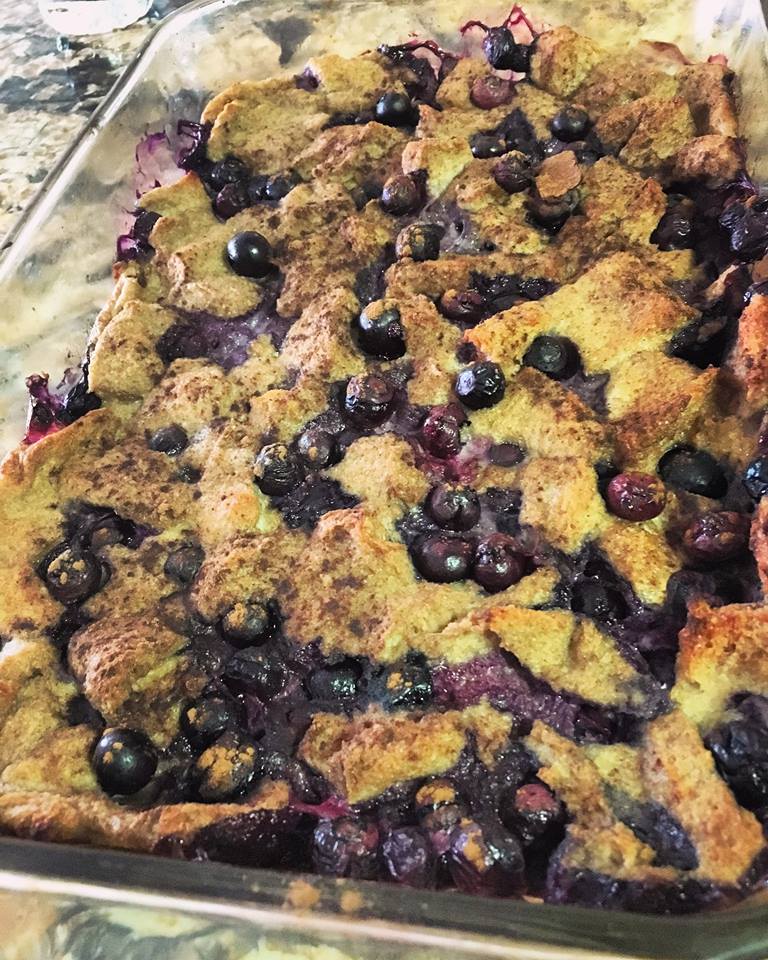
31693139_10211691575705286_8119226165136195584_n


Prep Time: 35 Minutes           Cook Time: 45 Minutes          Yields: 6-8 Servings

Ingredients

  • 8 cups bread, cubed (Use a good healthy brand, preferably whole grain, or gluten free)
  • 8 egg whites
  • 1 1/4 cup unsweetened almond milk
  • 1/4 cup honey
  • 2 tsp vanilla extract
  • 1 tsp almond extract
  • 1 tbsp ground cinnamon, divided
  • 1/2 cup shredded coconut
  • 2 cups organic blueberries

Directions

  1. In a large mixing bowl, combine the egg whites, almond milk, honey, vanilla extract, almond extract, and most of the cinnamon. Whisk

  2. Spray a 9 x 13 casserole dish and add the cubed bread.

  3. Pour the liquid mixture over the bread and mix it around until all parts of the bread are completely covered. Let sit for 30 minutes.

  4. Mix in the blueberries and coconut, and sprinkle with the remaining cinnamon

  5. Bake at 350 F for 45 minutes.

  6. Before taking it out, check to make sure there is no more liquid. If there is, continue to bake in 2 minute increments until the liquid is gone.

  7. Once cooled, cut into square pieces and serve with pure maple syrup